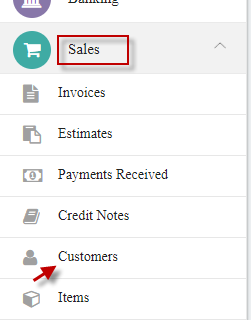
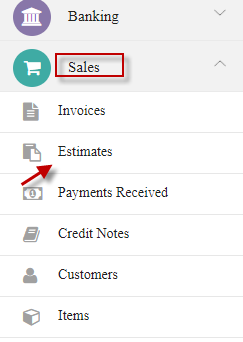
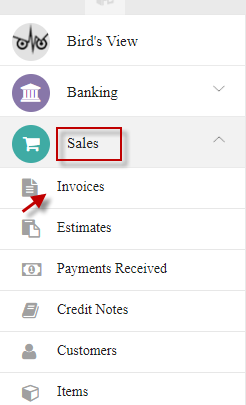
Sales
Customers
Customers buy goods and services from your business. Once you mark a contact as a customer, you can transact with them via estimates, invoices, sales orders and credit notes.
A. Create/Add New Customer
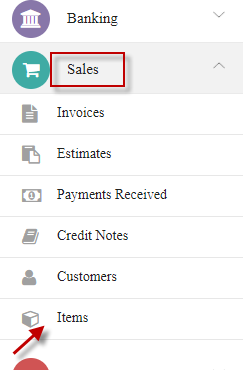
Go to Sales and select Customers.
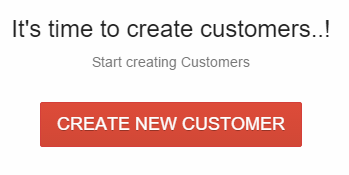
Click CREATE NEW CUSTOMER.
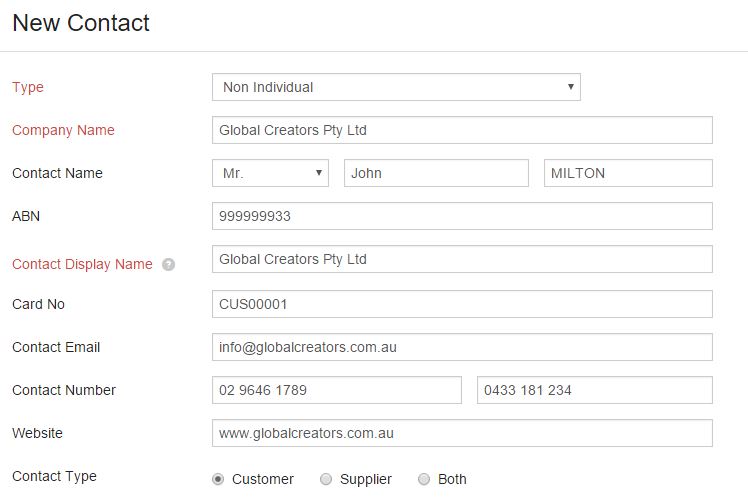
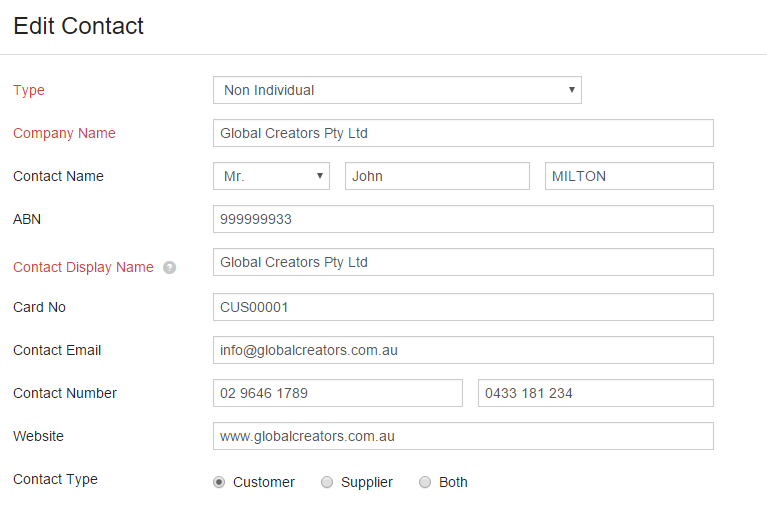
Select the Contact Type as Customer, Enter required information.
The contact creation page, apart from requesting general information such as the contact and company names etc., is split into several sections such as,
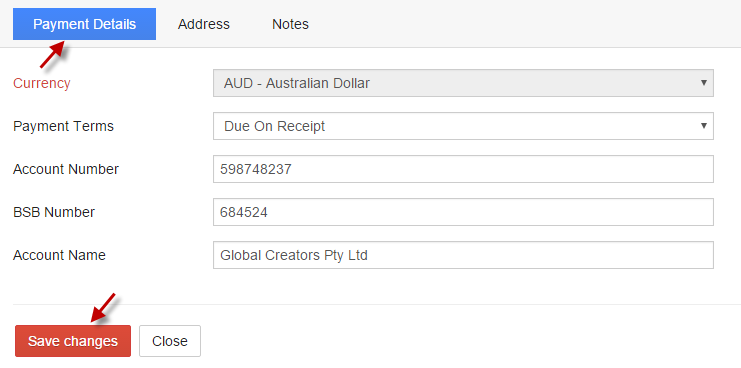
Payment Details - You can enter customer currency and payment terms here.
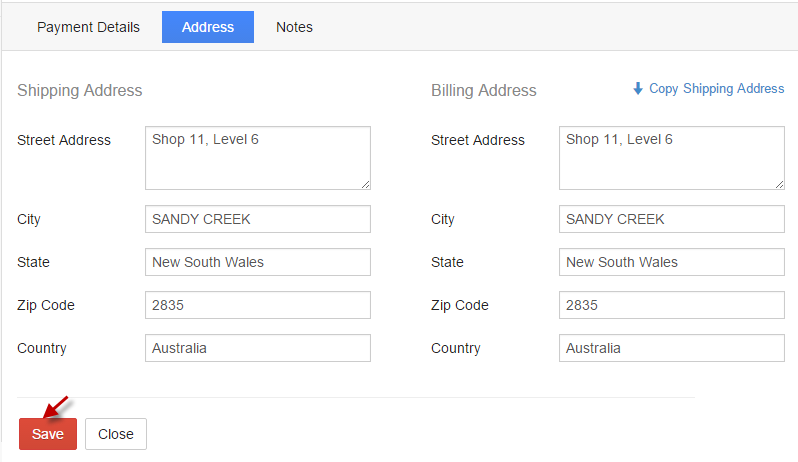
Enter Address details.
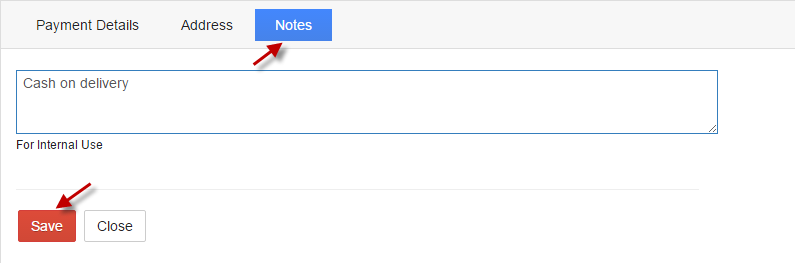
Add Notes if needed and click Save.
Add Customer
Click  to add more customers.

To edit a contact, Go to Contacts.
Click on the Edit  button and make the necessary changes to the previously entered information and Save changes.

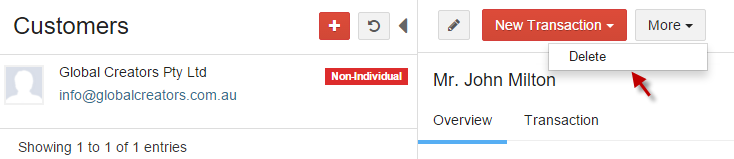
Delete customer by Clicking More and select Delete.
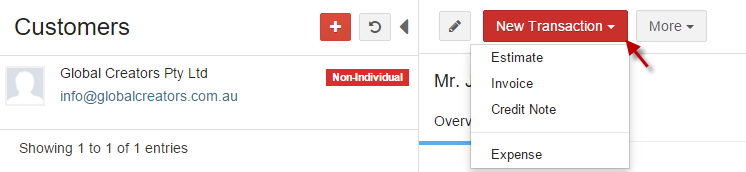
Select customer and click New Transaction from profile.
Directly Estimate, Invoice, Credit Note and Expense for the selected Customer.
Items
Items are the products that you sell or services that you render to various clients and can be purchased from various vendors in a business. Create and manage the items your business deals with and also create price lists for specific clients.
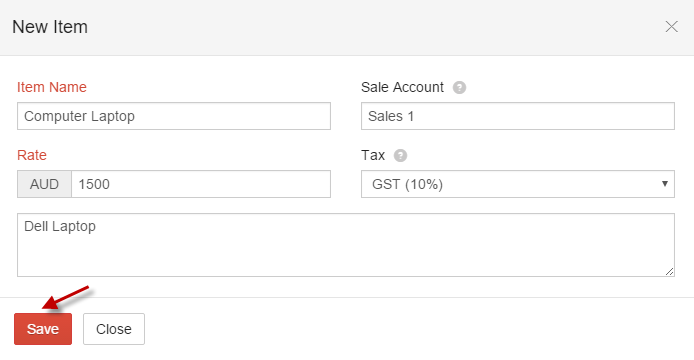
A. Create/Add New ItemGo to Sales and select Items.
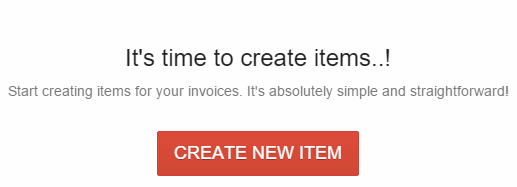
Click CREATE NEW ITEM.
Enter item details and click Save.
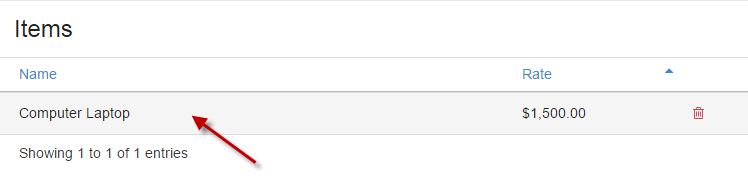
Add Item
Click
to add more items.
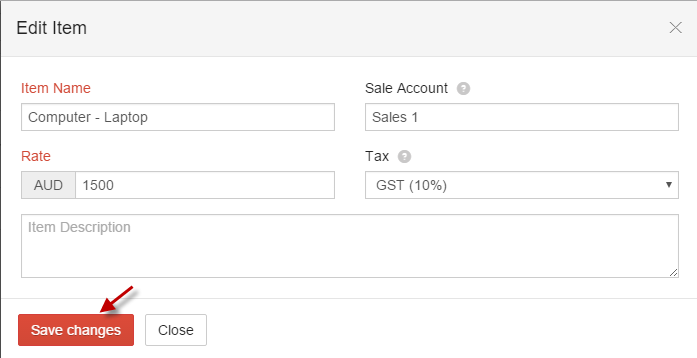
B. Edit Item
Select the item, make changes and click Save changes.
Click
 delete icon to delete item.
Estimates
An estimate is a quote or a proposal for the products you sell or the services you render to your clients to take your business forward.
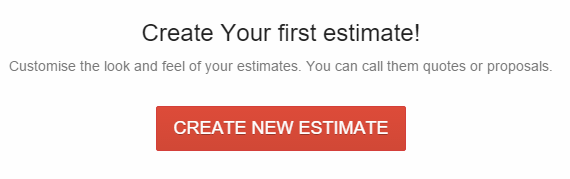
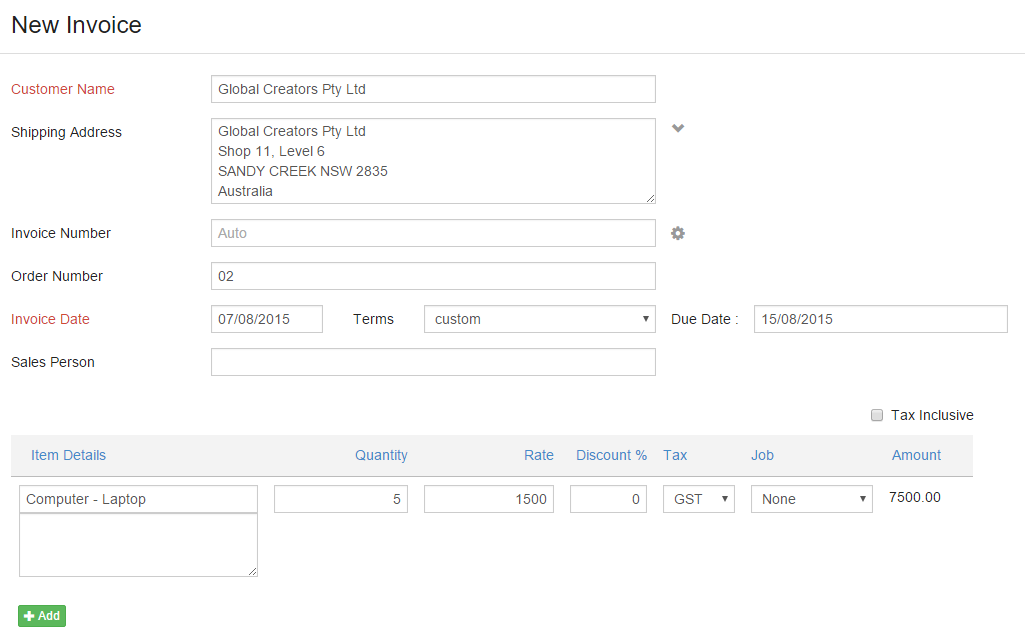
Click CREATE NEW ESTIMATE.
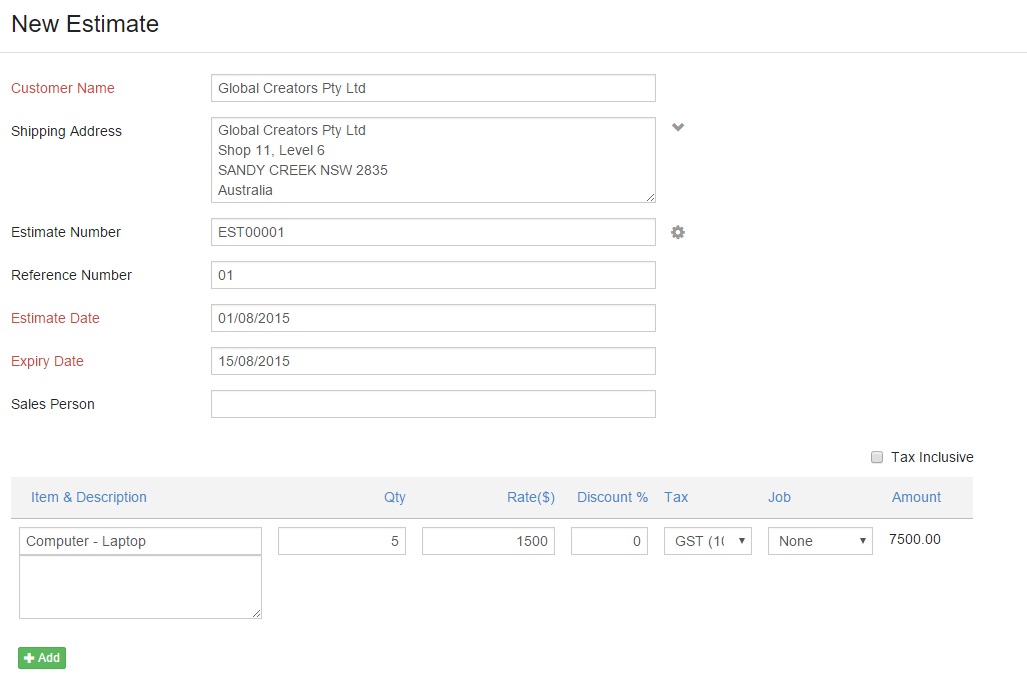
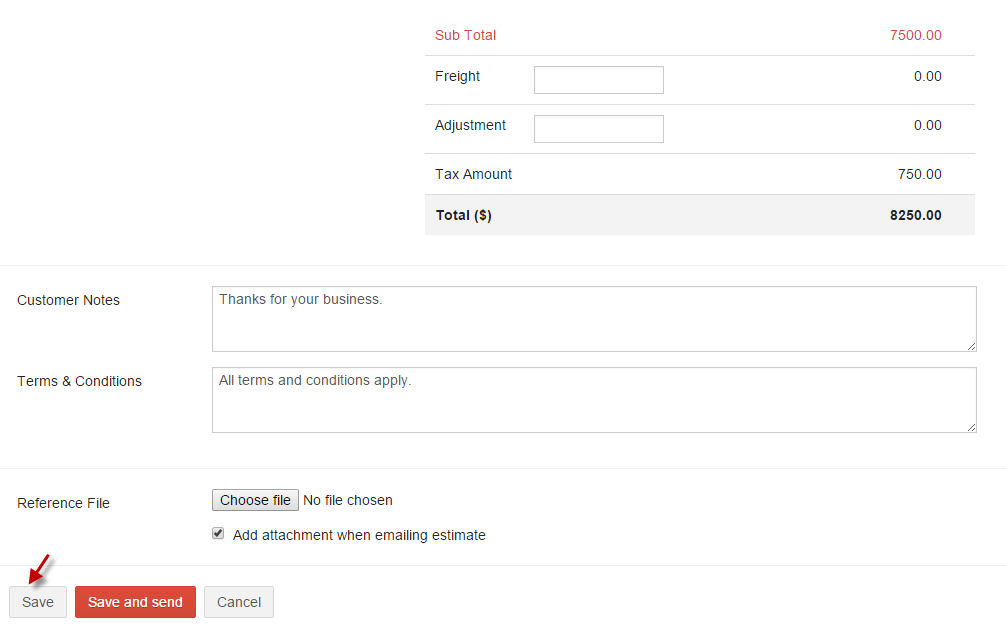
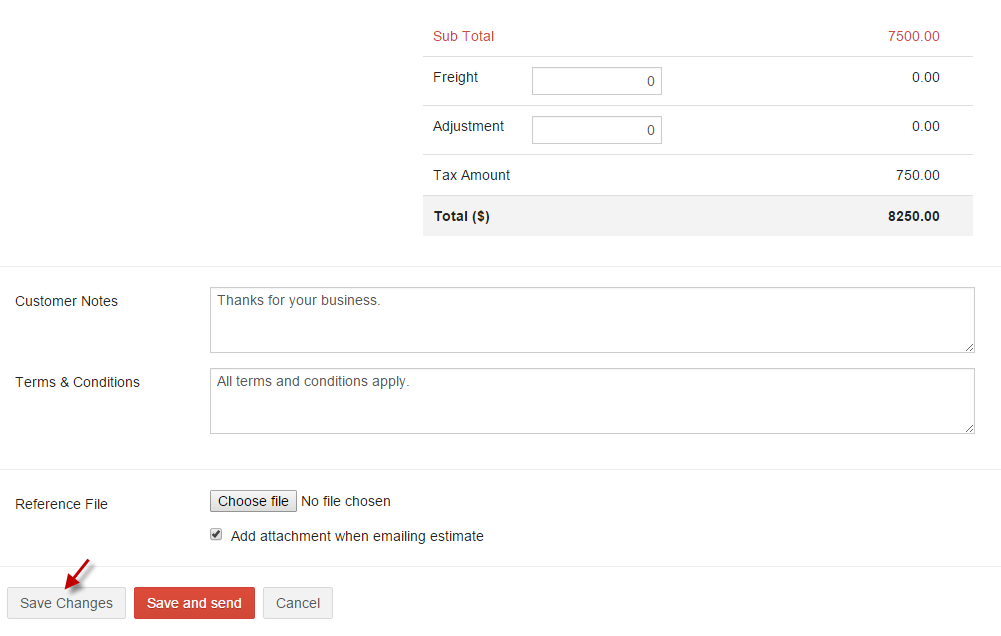
Enter details and click Save.
-
1. Add Estimate
Click to add more Estimates.

-
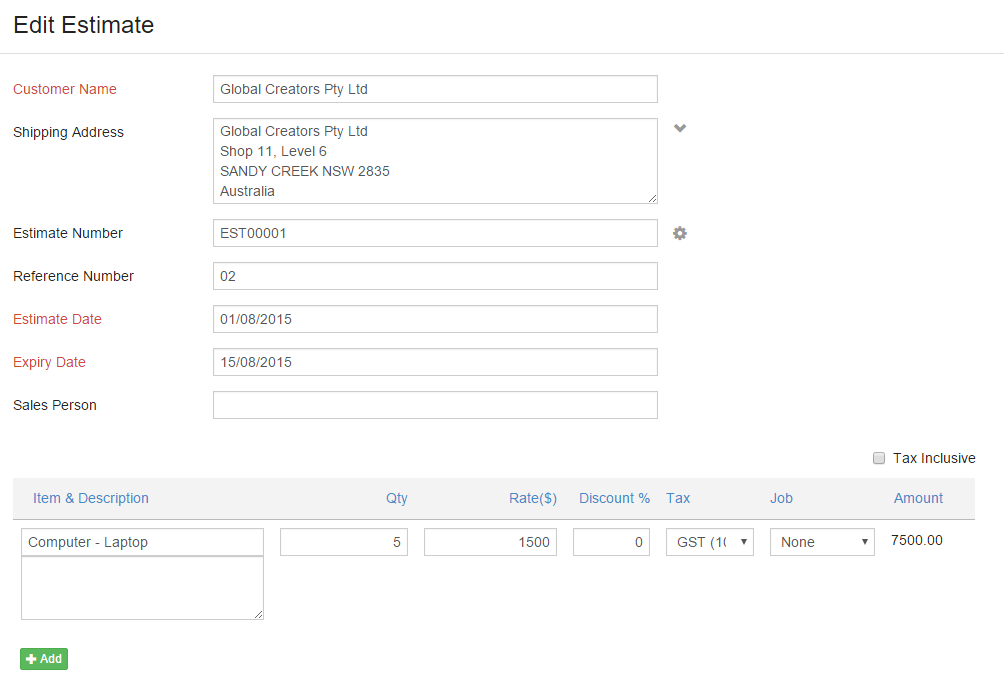
2. Edit Estimate
Click on to edit existing Estimates.
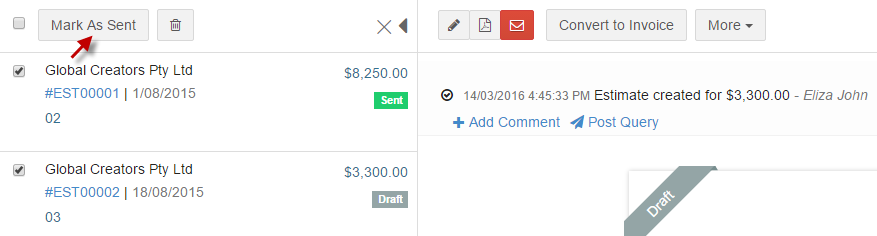
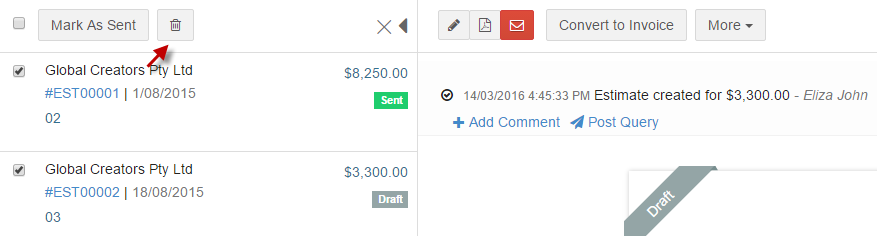
If you have not sent the estimate, but have already informed the customer on the quote and they have agreed for the deal then you can manually mark the estimate as sent from selecting the Mark as Sent option from the More drop down.
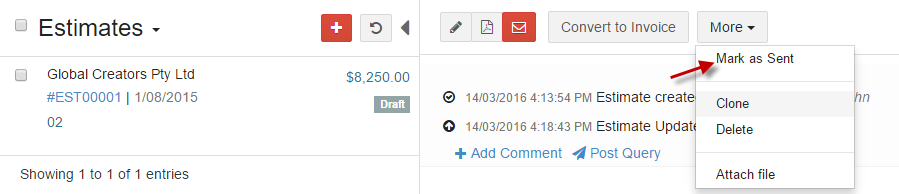
Multiple estimates can be selected (tick the checkbox) and click Mark as Sent.
Status
- 1. Draft - Estimate when created will be in the Draft status before it is sent.
- 2. Sent - Estimate once sent, will be changed to Sent status.
- 3. Invoiced - Estimate once converted as an invoice will change to the Invoiced status.
- 4. Accepted - Estimate once accepted by the contact or marked as accepted by you, will change to the Accepted Status.
- 5. Declined - Estimate once declined by the contact or marked as declined by you, will change to the Declined status.
Select Estimate and choose Convert to Invoice You will be navigated to a new invoice form where the details from the estimate will already be populated.
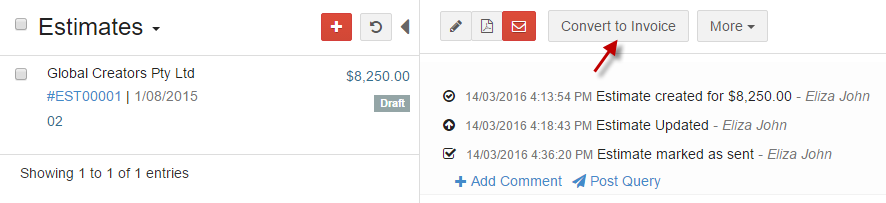
Make changes if needed and click Save.

-
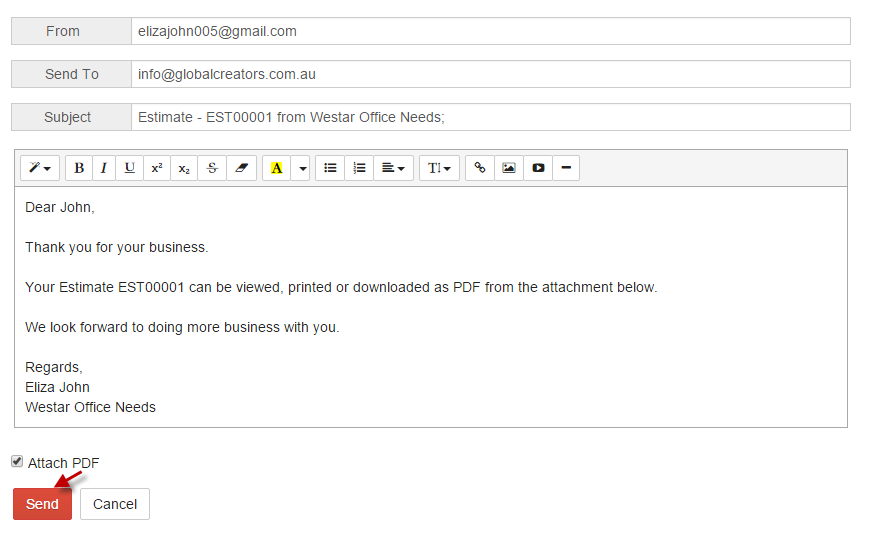
i. Send Email
Email estimate to clients by selecting email.
-
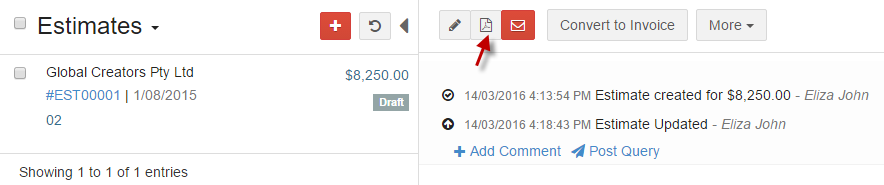
ii. Print
Download your estimate in pdf by selecting pdf icon.
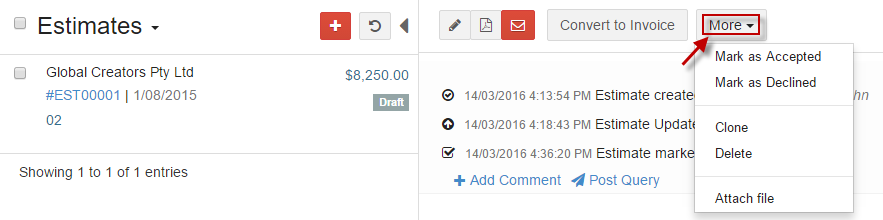
You can perform other actions like Clone, Delete, Attach file and can mark your estimate as accepted or declined from the More dropdown.
-
1. Mark as Accepted- If you have sent the estimate and the customer has agreed to the deal, you can manually mark it as accepted from the More drop down.
- 2. Mark as Declined - The estimate can also be marked as declined from the More drop down on denial of your quote from the customer.
-
3. Clone - Create a duplicate copy of the estimate.
-
4. Delete - An estimate can be deleted by selecting the Delete option from the More dropdown.
Multiple estimates can be deleted by selecting the estimate (tick the checkbox) and click delete icon.
- 5. Attach File � Files can be attached to your estimate by selecting Attach file from the More dropdown.
Sales Register
Invoice
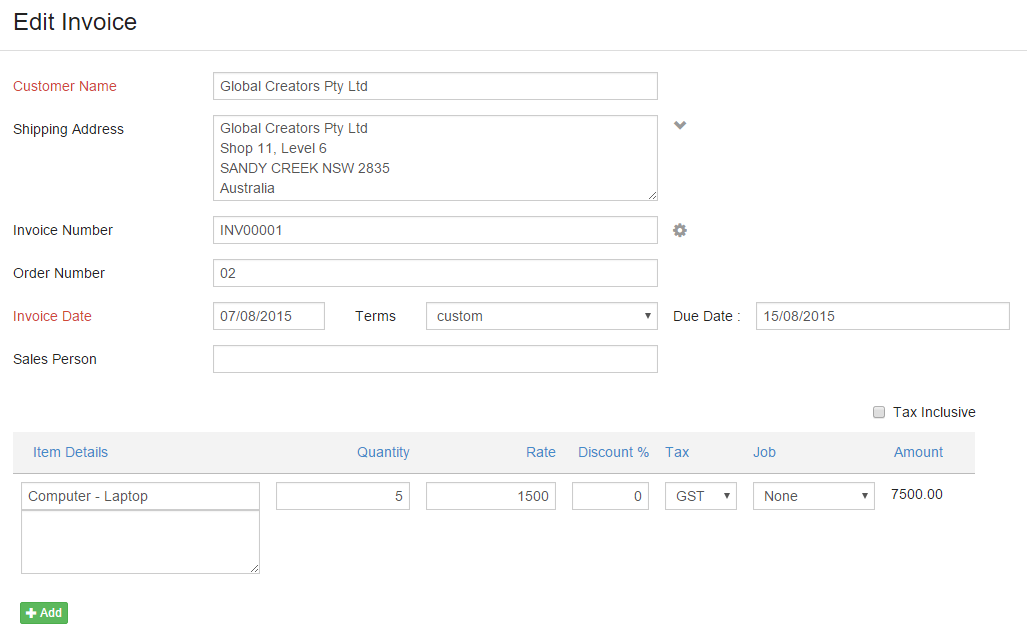
Invoice is a document sent to your client that indicates the products/services sold by you with the payment information that the client has to make.
A.Create / Add an Invoice
Go toSales and select Sales Register.
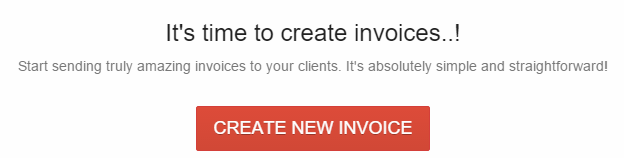
Click CREATE NEW INVOICE.

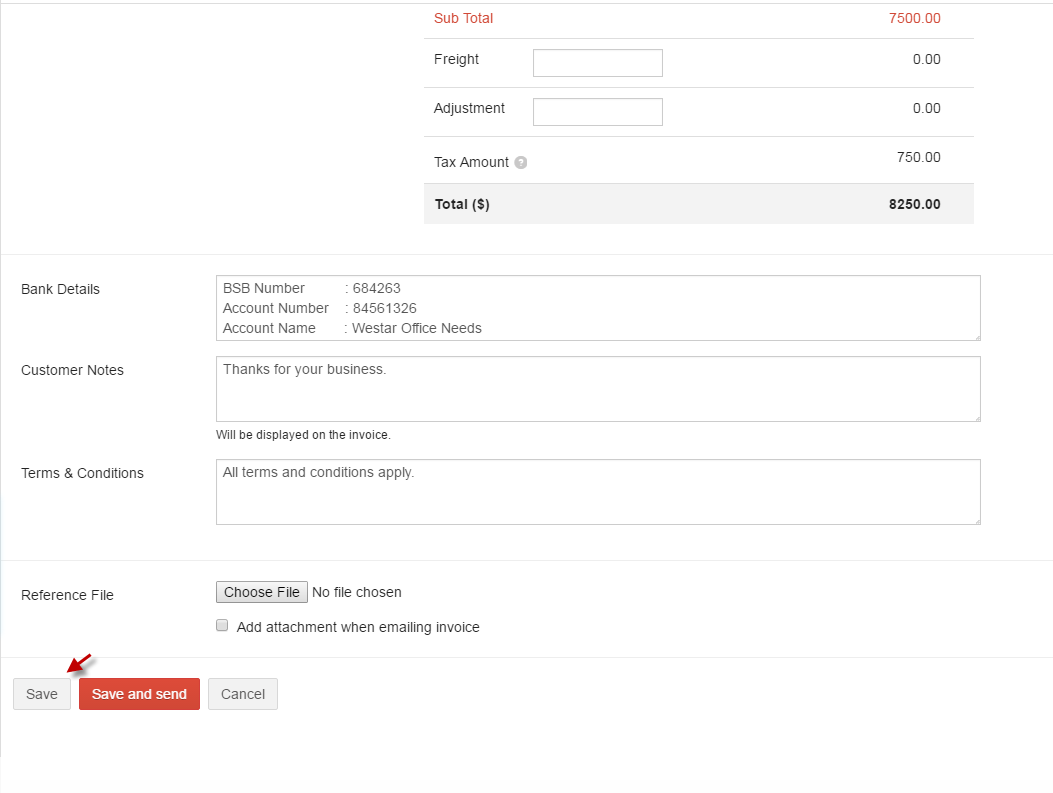
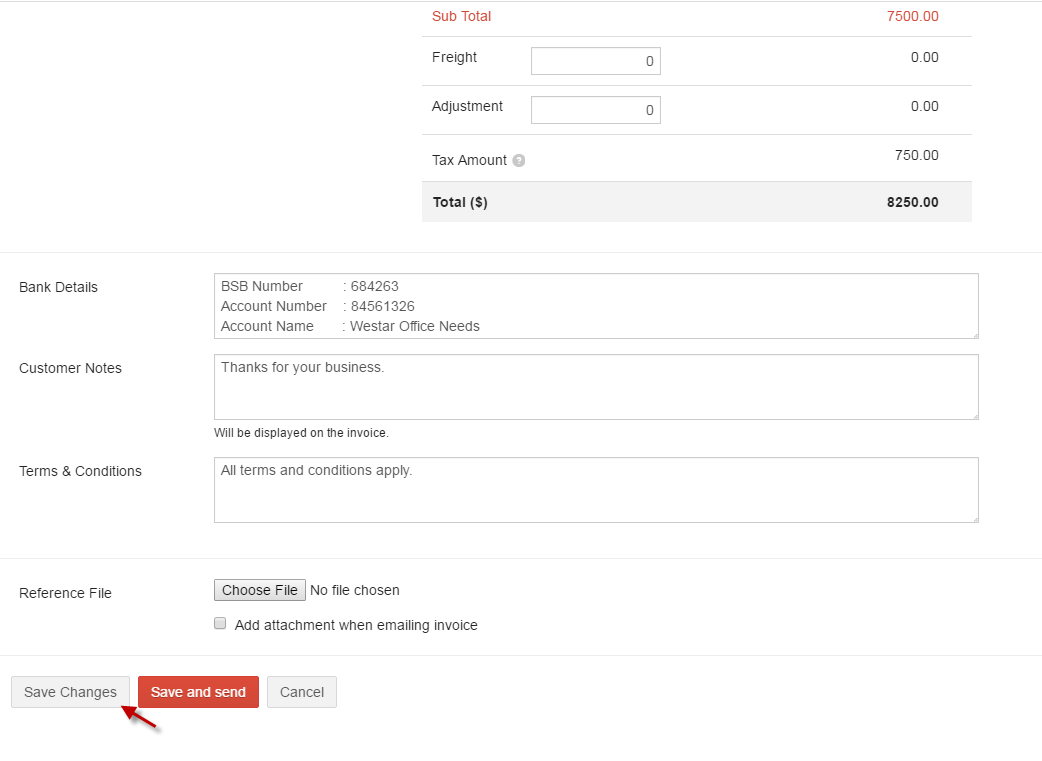
Enter invoice details and click Save.
Click add icon to add more invoices.

Click on to edit existing invoices.
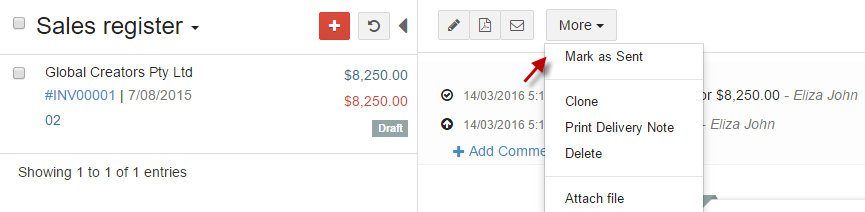
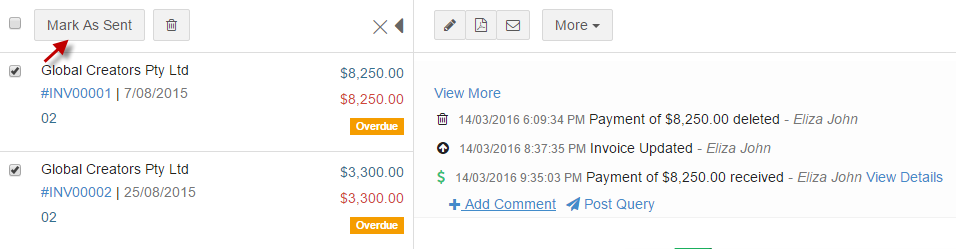
Mark as Sent - If you have not sent the invoice, but have already informed the customer on the quote and they have agreed for the deal then you can manually mark the invoice as sent from selecting the Mark as Sent option from the More dropdown.
Status
- 1. Sent - Invoices when created will be in Draft status before being sent to the customer.
- 2. Overdue - Once the due date for payment is exceeded, it will be shown as Overdue.
- 3. Partially Paid - When the payment for the invoice is made partially, it will be shown as Partially Paid.
-
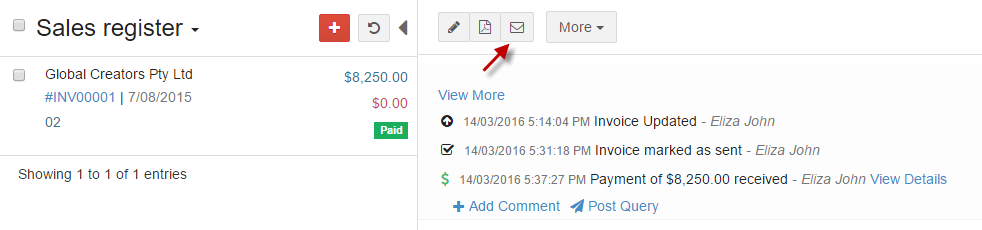
4. Paid - Once the payment is made by your customer for the invoice raised, it will be shown as Paid.
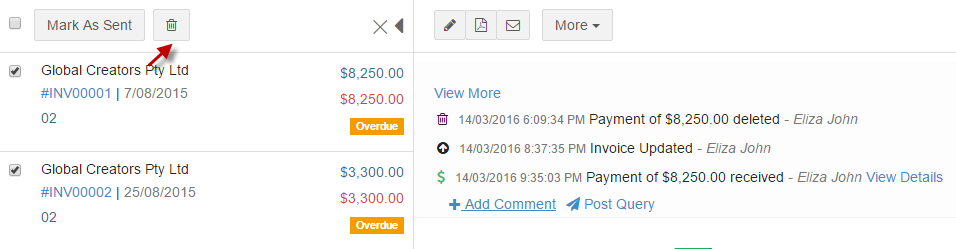
Multiple invoices can also be selected (tick the checkbox) and click Mark As Sent.
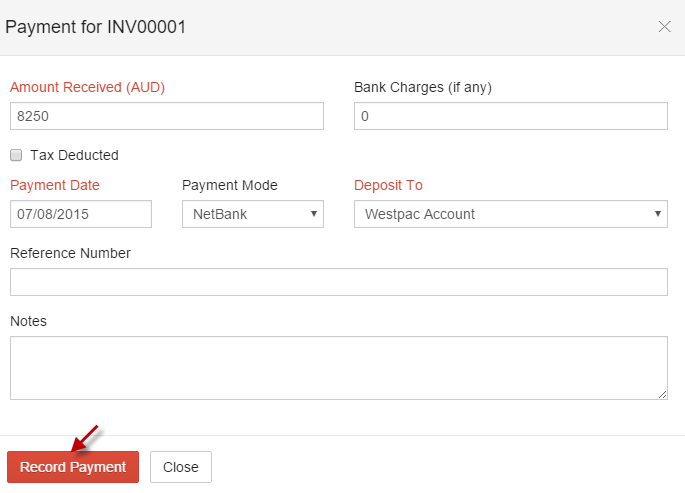
You can record a payment of your invoice manually by clicking Record Payment.
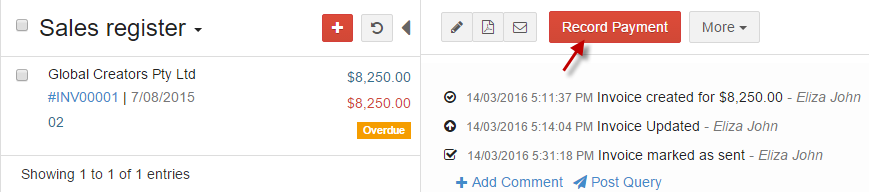
Fill in the required details and click Record Payment.
-
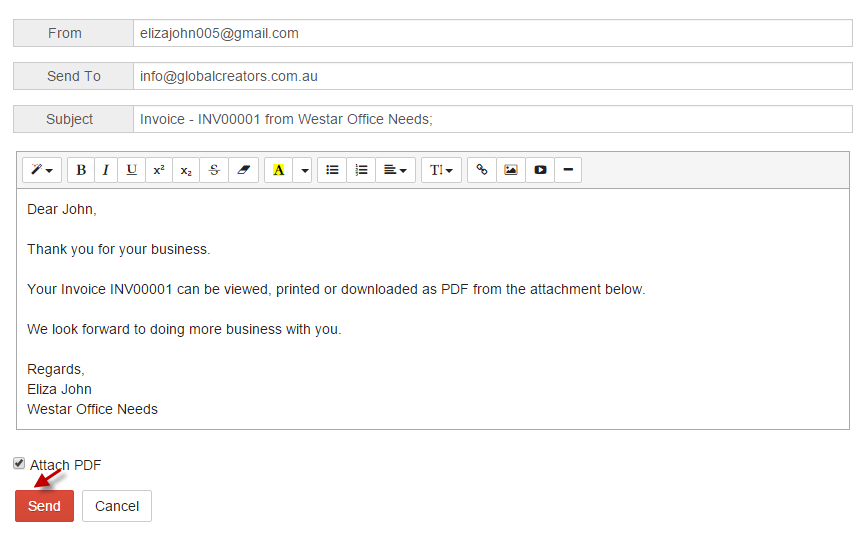
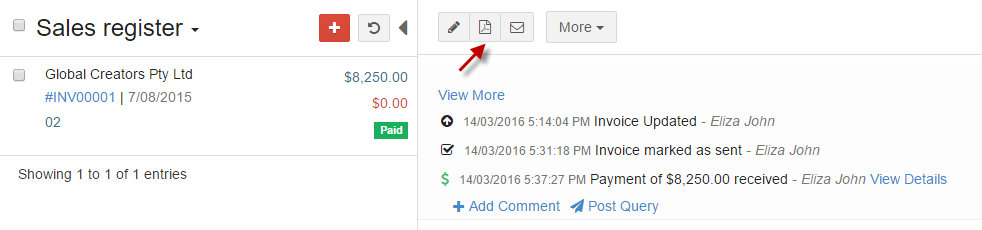
i. Send Email
Email invoice to required contact person by selecting email option.
-
ii. Print
Download invoice as pdf by selecting pdf icon.
You can also perform other actions like clone, delete, attach file, reverse and print delivery note from the More dropdown.
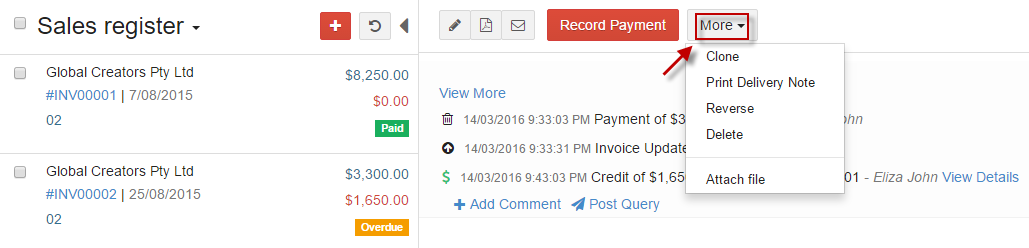
- 1. Clone � Create duplicate copy of the invoice.
- 2. Print Delivery Note � View details on the item details delivered to customers.
- 3. Reverse � Reversal entry for your invoice can be created by selecting Reverse from the Moredropdown.
-
4. Delete � Invoice can be deleted by selecting Delete from the More dropdown.
Multiple invoices can be deleted by selecting the invoices (tick the checkbox) and click Delete icon.
- 5. Attach File � Attach bills, documents, sample files, product photos or any attachment that you need to provide your customers on your invoice.
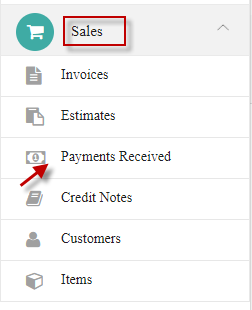
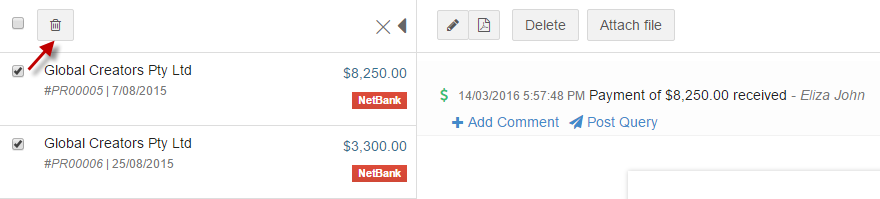
Payments Received
The payments you receive for your transactions can be viewed under the Payments Received.
Go to Sales and click Payments Received.

You can edit a payment by clicking on Edit option.
A payment can be deleted by clicking on Delete option.

Multiple payments can be deleted by selecting the payment (tick the checkbox) and click delete icon.
Download the payment receipt as pdf by clicking on the pdf icon.

Attach invoice or other attachments related to payment by clicking Attach file.

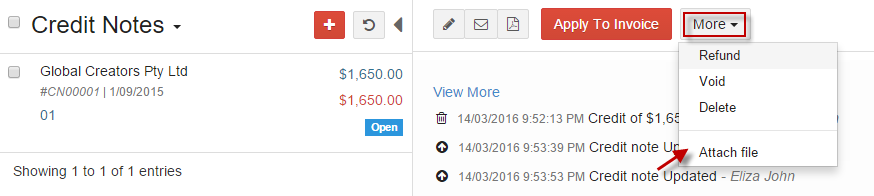
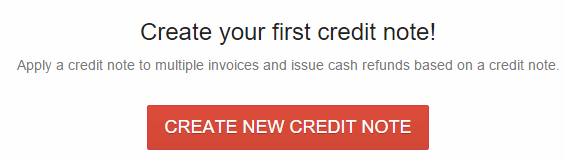
Credit Notes
Credits represent the money that you owe your customer. A credit note is issued in the customer's name in order to keep track of this debt until it's paid off. The debt remains until it's refunded or subtracted from the next invoice you send your customer.
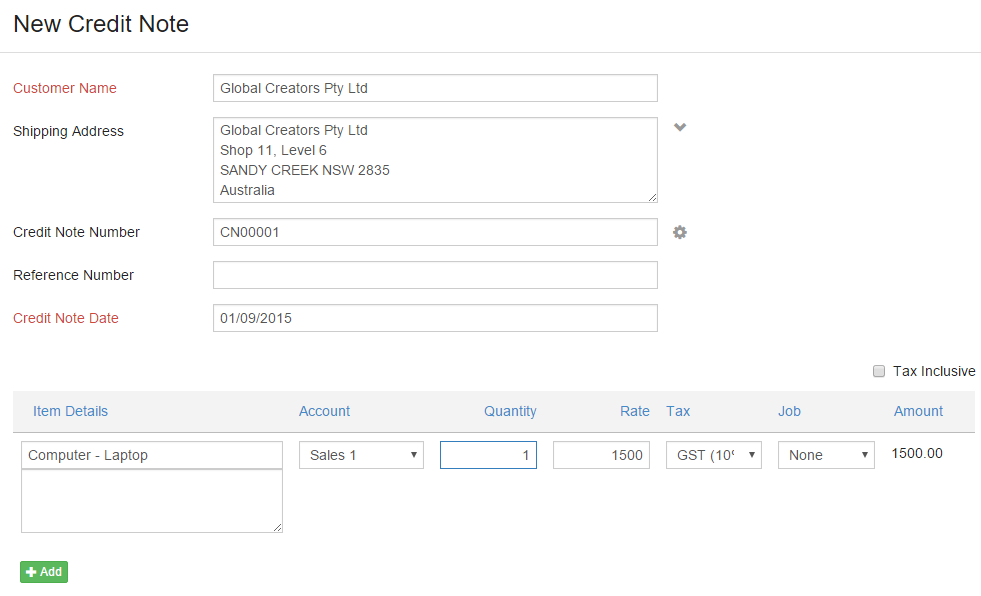
Go to Sales and select Credit Notes.

Click CREATE NEW CREDIT NOTE.
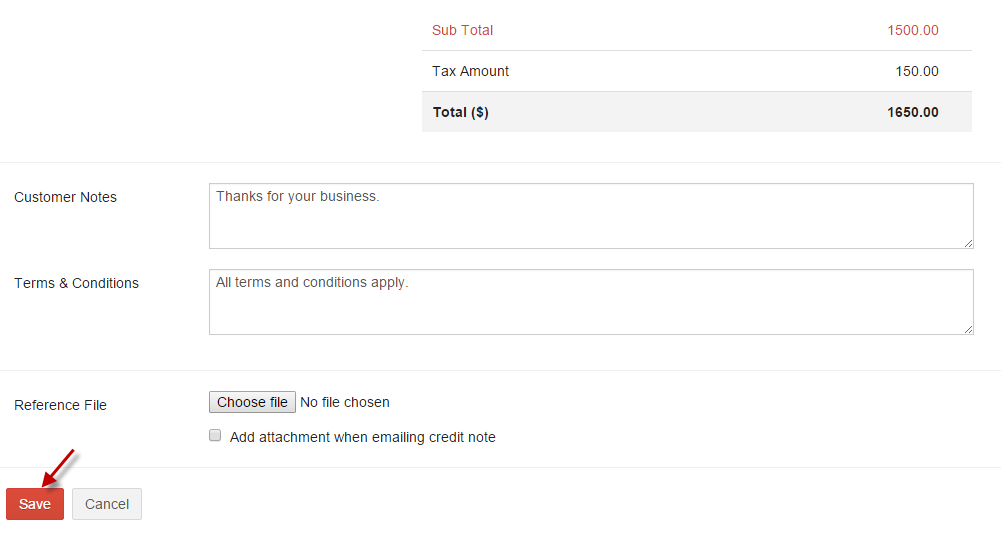
Enter credit note details and click Save.
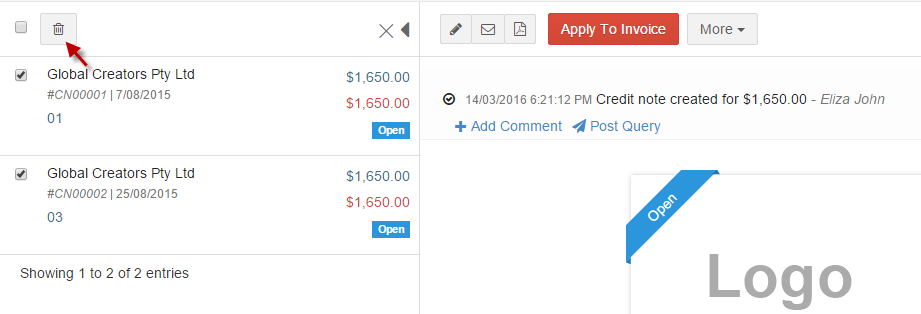
Add a Credit Note
Click add icon to add more credit notes.

You can edit a credit note done by clicking on Edit option.
Credits you issue a customer can be applied to an invoice raised for the same customer.
-
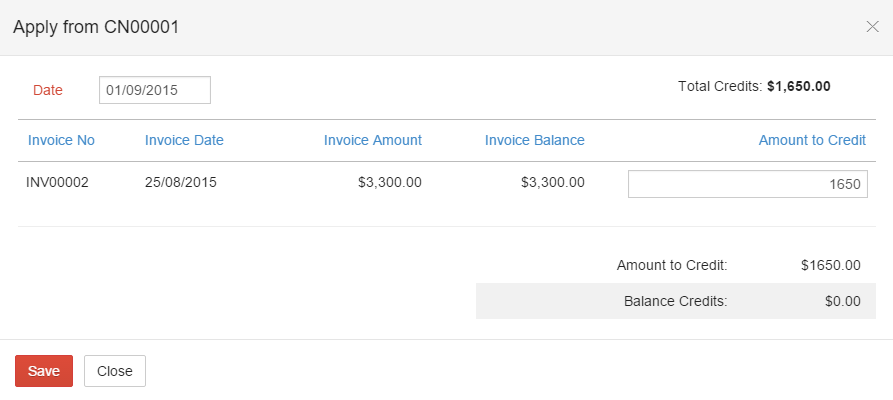
Option 1: Select the credit note and click Apply To Invoice.

A list of the invoices raised for that supplier is displayed. Select the appropriate one and specify the amount to be applied.
-
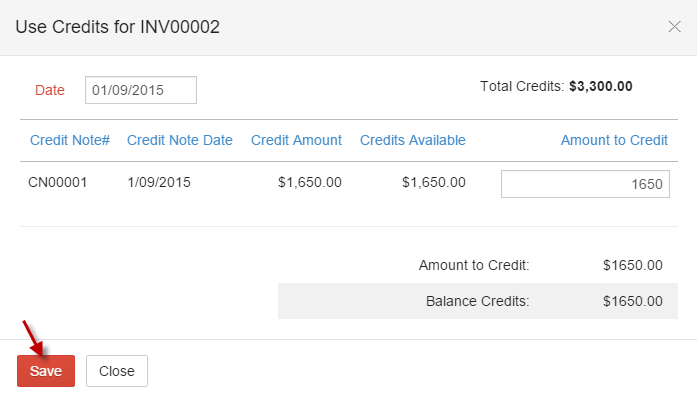
Option 2: Credit Notes can also be applied by opening the invoice and choose Click here to apply available credits to invoice.

Enter amount to credit and click Save.
- 1. Open � The credit note has been created and payment is due to the customer.
- 2. Closed � The credit note has been accounted for, either through a refund or by associating it to an invoice.
- 3. Void � The credit note has been made invalid.
i. Send Email
You can email a credit note to your customer by clicking on the email icon.

ii. Print
Credit Notes can be downloaded as pdf by clicking on pdf icon.

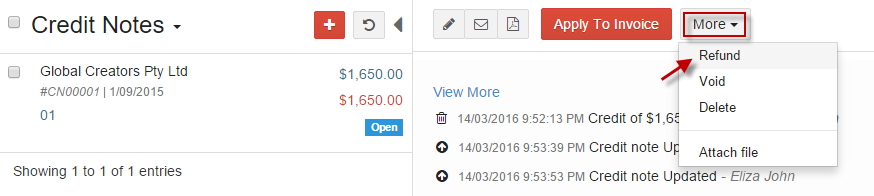
You can perform actions like refund credit note, void, delete and attach file from selecting More dropdown.
-
i. Refund
If you've made a direct payment to your customer towards the amount owed to him, you can record against the corresponding credit note created.
Select Refund from More dropdown.
-
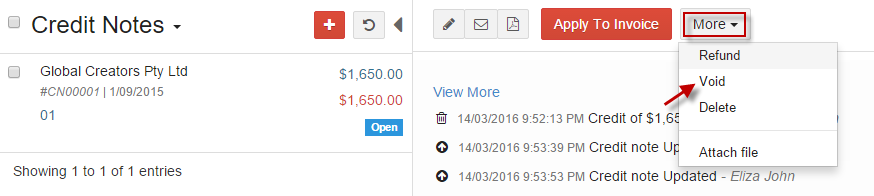
ii. Void
You can void a credit note on which no payment has been made yet, by opening the credit note and select Void from Action. Once void, it is rendered invalid.
-
iii. Open
Void credit note can be reverted by selecting Open from the More dropdown.

-
iv. Delete
Credit Note can be deleted by selecting Delete from More dropdown.

Multiple credit notes can be deleted by selecting the credit notes (tick the checkbox) and click delete icon.
-
v. Attach File
Attach any receipts, invoices or attachments associated with the Credit Note by selecting Attach file from More.